I love to craft for the holidays and since I have collected lots of Christmas scrapbook papers and vintage images I wanted to make some more holiday ornaments this year.
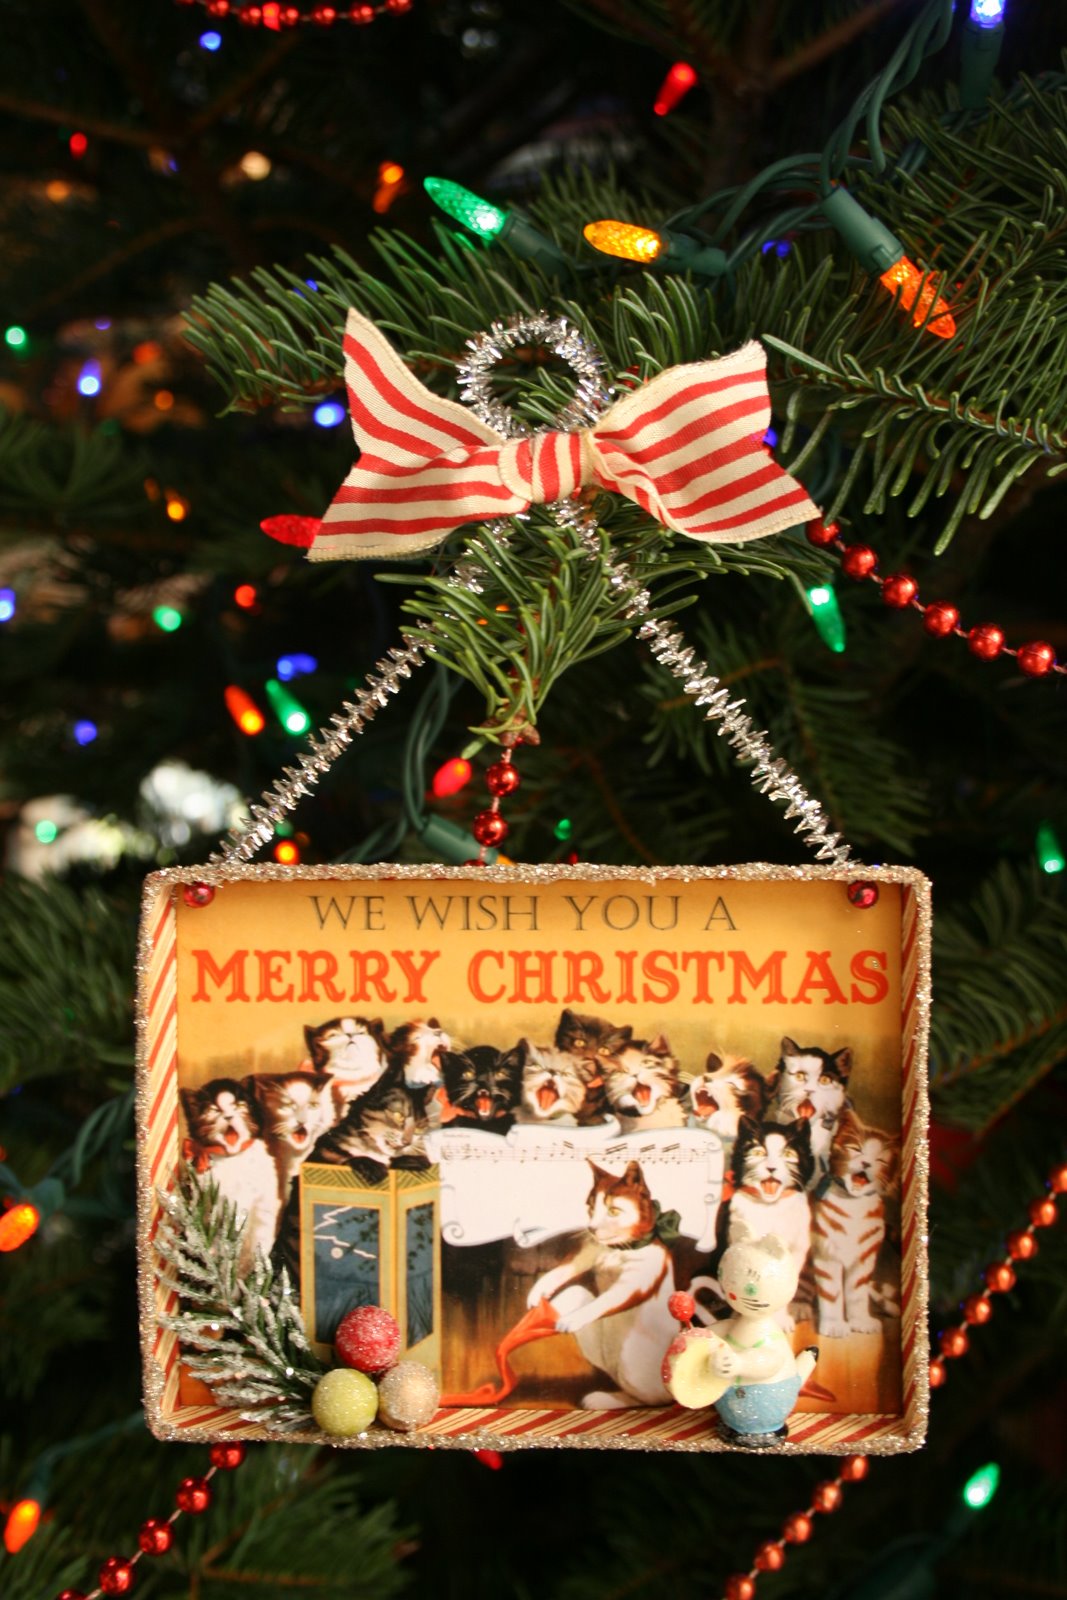
The ornament below started this project. I loved this image I downloaded from the Graphicsfairy. All the singing kitties are just too cute. My niece loves kitties and I thought of her when I saw it. I wanted to make an ornament for her and needed to decide how to use this image. I thought of a collage with the image, but could not put together something I really liked.
I wanted to use this little vintage kitty ornament also so I had to come up with a way to use both.
I came up with the idea of making a mini shadow box.
I started with the dimensions of the of the graphic. This one was cut about 4x6 inches.
The next was made from Christmas paper and chipboard embellishments.
It measures about 2 1/2 in. by 4 in. The following photos show the measurements and diagrams of how I made the ornaments.

I measure the image or paper I want to use, and then choose a card stock weight pattern paper or card stock that coordinates with my image. I allow just a bit extra, about 1/8 in. to the height and length of the image I want to use, for ease when folding.
Card stock weight paper works best. I then add 1 1/4 inches to all sides.
Start at one edge and score at 1/4 in. Then 1/2 in. beyond the 1/4 in. line. Then 1/2 in. again from the last line. Do this on all 4 sides. I use my Martha Stewart Score board for this as I can score one side, turn 1/4 turn, score again, turn 1/4 again, score, until all 4 sides are scored.

I trim the long edge of the flap that remains slightly so the paper will fold neatly.

I then fold in the first short edge, starting with the "flaps" and glue where shown. Then glue the short 1/4in. flap into the center. Repeat on the final side. You now should have a "box" similar to the inside of a match box.
Now time to embellish. Start by adhering your image to the inside of the box. Then make holes in the top fold, for your hanging wire. I used chenille sticks, but ribbon or tinsel would also work. Do not glue in the chenille or ribbon hanger if you want to add glitter to the edge. But make holes before you add glitter.
I found the easiest way to add the glitter was to take a scrap of paper or plastic packaging and run a thick bead of glue in a rectangle shape on this the size of your box and then dip the box edges in to the glue, then into the glitter of your choice. Let dry completely.
Add your hanger now and any trim or embellishments you like. Mini trees, packages, vintage holiday ornaments or greenery. On the Home for the Holidays I also put some glue on the bottom edge and sprinkled on some glitter "snow".


I hope you like my little shadow boxes and as usual, any ???'s. Just ask!
Thanks for visiting!

So cute!! That Home For the Holidays one sure looks familiar!!! ;-)
ReplyDeleteSo sweet, all of them!! Thank you for linking! Merry Christmas.
ReplyDeleteGlad you liked them Cathe :) I collect "piggies" so when I saw this graphic on your blog I had to save it. Thanks!
ReplyDelete